GUI tools
Overview of all tools available in the GUI.
File control
New File (
 “Ctrl+N”): Create a new empty segmentation file.
Load Folder (
 “Ctrl+O”): Loads folder.
Load older version (
 ): Load an older saved or unsaved version of the
 acdc_output.csvfile (table with annotations and measurements).Save (
 “Ctrl+Alt+S”): Save.
Quick save (“Ctrl+S”): Save only segm. file.
Show in explorer (
 ): Opens explorer with currently loaded folder.
Undo (
 “Ctrl+Z”): Undo the last action
Redo (
 “Ctrl+Y”): Redo the last undone actions


View options
Find ID (
 “Ctrl+F”): Find and highlight ID. Press “Esc” to clear highlighted object.
Zoom to rectangle (
 “Shift+Z”): Draw a rectangular area with left-click in order to zoom to that area. Right-click to cycle back to previously zoomed areas.
Open Slideshow (
 “Ctrl+W”): Opens slideshow.
Auto-pilot (
“Ctrl+Shift+A”): Press arrow up/down or Page Up/Page Down to navigate and view segmented objects one by one.Skip forward to new object (
 “Page up”): Skip forward to the frame where a new object appears.
Pre-processes image (
 “Alt+Shift+P”): Apply a custom pre-processing recipe to the image data. Shortcut: “Alt+Shift+P”.
- Overlay channels (
 ): Right-click on the button to overlay additional channels. To overlay a different channel right-click on the colorbar on the left of the image. Use the colorbar ticks to adjust the selected channel’s intensity. You can also adjust the opacity of the selected channel with the “Alpha <channel_name>” scrollbar below the image.Note: This button has a green background if you successfully ‘loaded fluorescence data’
 View object count (
 “Ctrl+Shift+C”): View object count in current frame and in entire video.
Activate points layer (
 ): Activate points layer tools. You can add as many points layers as you want and customise their appearance. This can be used to visualize points from a table or add points with clicking and then use these points for models like Segment Anything (input prompts).
Add contours from different segmentation file (
 ): Add contours layer from another segmentation file
Ruler (
 ): Draw a straight line and show its length. Length is displayed on the bottom-right corner.


Edit tools: Segmentation and tracking
- Brush (
 “B”):
“B”): Edit segmentation labels with a circular brush.
Increase/decrease brush size with “UP/DOWN” arrows on the keyboard.
- Default behaviour:
Painting on the background will create a new object.
Edit an existing label by starting to paint on the object (brush cursor changes color when hovering an existing label).
Press “Shift” to force drawing a new object
Painting in default mode always draws UNDER existing objects.
Press “Ctrl” to draw above ABOVE existing objects.
- Power brush mode:
- Power brush: press “B” key twice quickly to force the brush to draw ABOVE existing labels.NOTE: If double-press is successful, then brush button turns red. The brush cursor is always white.
Power brush will draw a new object unless you keep “Ctrl” pressed. –> draw the ID you start the painting from.
- Manual ID mode:
Toggle the manual ID mode with the “Auto-ID” checkbox on the top-right toolbar.
Enter the ID that you want to paint.
NOTE: use the power brush to draw ABOVE the existing objects.
- Brush (
- Eraser (
 “X”):
“X”): Erase segmentation objects with a circular eraser.
Increase/decrease eraser size with “UP/DOWN” arrows on the keyboard.
- Default behaviour:
Starting to erase from the background (cursor is a red circle) will erase any labels you hover above.
Starting to erase from a specific label will erase only that label (cursor is a circle with the color of the label).
To enforce erasing all objects no matter where you start from double-press “X” key. If double-press is successfull, then eraser button is red and eraser cursor always red.
- Eraser (
Curvature Tool (
 “C”): Left-clicks for manual spline anchors, right button for drawing auto-contour.
Magic Wand (
 “Ctrl+D”): Create a new object using neighbouring pixels whose intensity is within a selected tolerance. Left-click for single selection or left-click and then drag for continous selection.
Magic prompts (
 “W”): Use promptable models (e.g., Segment Anything) to refine objects or generate new ones interactively with prompts (e.g., points). Prompts are added with both the left, right, and middle-click
Copy lost contour (
 “V”): Hover onto lost object contour –> right-click to copy the contour as a new object.
- Lock ID and annotate single object (
 “Y”):
“Y”): Activate to automatically set the brush ID to the hovered ID. –> Warning about lost objects temporarily disabled
Annotate past frames
Deactivate to go back to the frame you were annotating before activating this tool.
NOTE: While activated, the brush ID will be locked to the requested ID. This is useful to quickly annotate past frames of a specific object without checking errors with the other objects. Future frames cannot be viewed and annotated with this tool.
- Lock ID and annotate single object (
Magic labeller (
 “L”): Draw a rectangular ROI around object(s) you want to segment. Draw with LEFT button to label with last used model. Draw with RIGHT button to choose a different segmentation model.
Segment (
 “R”): Segment with last used model and last used parameters. If you never selected a segmentation model before, you will be asked to choose one and initialize its parameters.
Segmenting for lost IDs (
 ): Segment only a small cutout of the image around missing IDs based on the segmentation of the previous frame. Will always use cellpose model. Parameters can be adjusted in the top ribbon under Segment –> Edit settings for Segmenting lost IDs. In the settings menu, additional parameters can be set like padding and overlap threshold in addition to the model settings.
- Manual background (
 “G”):
“G”): - How to use:
Select object to copy its shape.
Place the new shape on the background close to the source object.
Left-click to set the background ROI of the selected object.
Note: right-click on a background ROI to remove it.
HELP: Use this function if you need to set the background level specific for each object. Cell-ACDC will save the metrics amount, concentration and corrected_mean where the background correction will be performed by subtracting the mean of the signal in the background ROI (for each object).
- Manual background (
Delete everything outside segmented areas (
 ): Select a segmentation file and delete everything outside segmented area.
Hull contour (
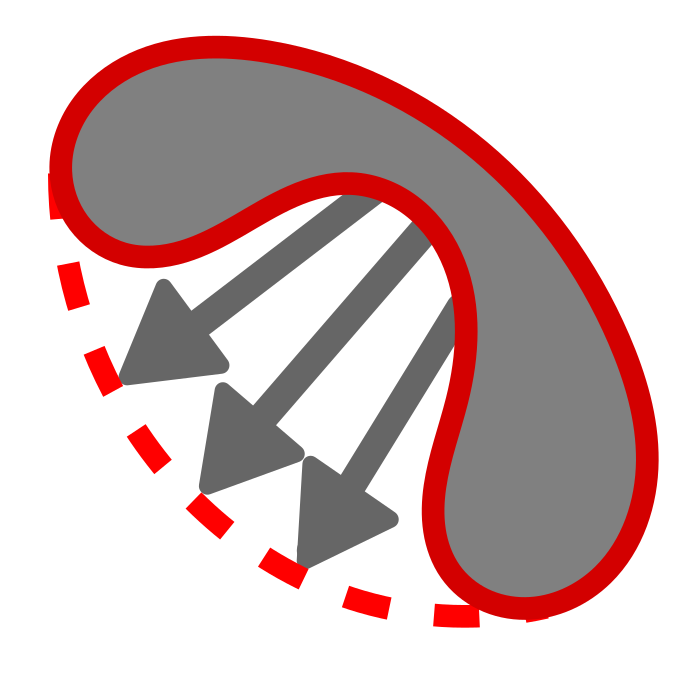 “K”): Right-click on a cell to replace it with its hull contour. Use it to fill cracks and holes.
Fill holes (
 “F”): Right-click on a cell to fill holes.
Move object mask (
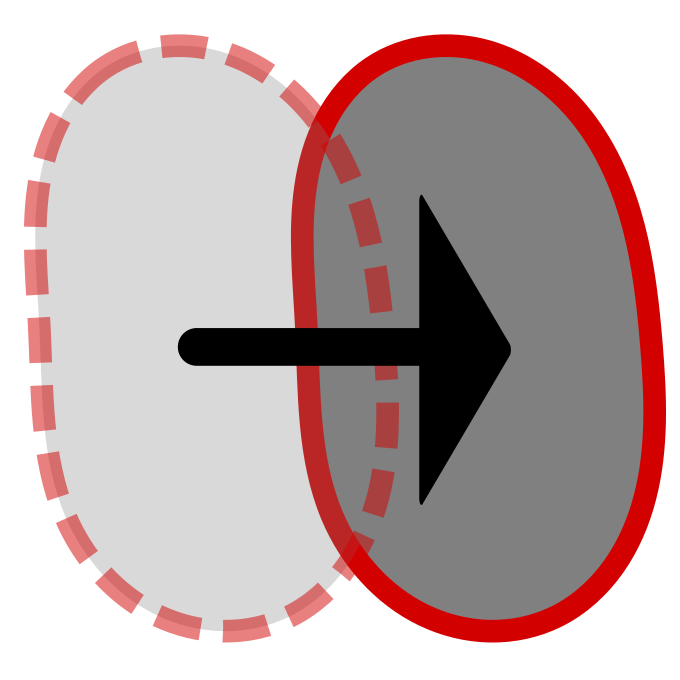 “P”): Right-click drag and drop a labels to move it around.
Expand/Shrink object mask (
 “E”): Leave mouse cursor on the label you want to expand/shrink and press arrow up/down on the keyboard to expand/shrink the mask.
Edit ID (
 “N”): Manually change ID of a cell by right-clicking on cell. When working with 3D segmentation masks, the default behaviour is to edit


the ID in all z-slices. To edit the ID only on the viewed z-slice, hold “Shift” while right-clicking.
* Manual bud separation (  “S”): Separate mother-bud fused together or separate objects that have the same ID. Right-click to attempt automatic separation or Shift+right-click to skip automatic attemp and go straight to manual mode.
* Merge IDs (
“S”): Separate mother-bud fused together or separate objects that have the same ID. Right-click to attempt automatic separation or Shift+right-click to skip automatic attemp and go straight to manual mode.
* Merge IDs (  “M”): Merge/fuse two objects together.
Usage: right-click on one of the two objects, keep the button clicked and release on the second object to merge (drag-and-drop).
Select objects to keep (
 “K”): Select the objects to keep. Press “Enter” to confirm selection or “Esc” to clear the selection. After confirming, all the NON selected objects will be deleted. Left-click on objects to keep.
Select objects to add to the tracking whitelist (
 “Ctr+K”): Select objects to add to a tracking whitelist. Only objects in this list will be kept and tracked over time. You can add additional objects to the list an any point in time. Left-click on objects to add them to the whitelist.
Remove object from analysis (
 ): Annotate that a cell is removed from downstream analysis.
 is_cell_excludedset toTrueinacdc_output.csvtable. Done by right-clicking.Annotate cell as dead (
 “D”): Annotate that a cell is dead.
 is_cell_deadset toTrueinacdc_output.csvtable.Add deletion ROI (
 ): Add resizable rectangle. Every ID touched by the rectangle will be automatically deleted. Moving and resizing the rectangle will restore deleted IDs if they are not touched by it anymore. To delete rectangle
 right-click on it --> remove.- Add poly-line deletion ROI (
 ):
): - How to use
Activate the button.
Left-click on the LEFT image to add a new anchor point.
Add as many anchor points as needed and then close by clicking on starting anchor.
Delete an anchor-point with right-click on it.
Add a new anchor point on an existing segment with right-click on the segment.
Add custom poly-line deletion ROI. Every ID touched by the ROI will be automatically deleted.
Moving and reshaping the ROI will restore deleted IDs if they are not touched by it anymore.
To delete the ROI
right-click on it --> remove.
- Add poly-line deletion ROI (
Clear freehand region (
 “O”): Draw a freehand region and clear all objects present in the region. Once activated, additional options will appear in a new toolbar.
Delete bordering objects (
 ): Remove segmented objects touching the border of the image.
Repeat tracking (
 “Shift+T”): Repeat tracking on current frame. Tracking method can be changed in
 Tracking --> Select real-time tracking algorithmManual tracking (
 “T”): Select ID to track and right-click on an object to assign that ID.
Reset last segmented frame (
 ): Reset last segmented frame to current one. NOTE: This will re-enable real-time tracking for all the future frames.
Segment range of frames (
 ): Segment a range of frames with the “Magic labeller” tool.


Edit tools: Cell cycle analysis
Assign mother to bud (
 “A”): Press with right button on bud and release on mother (right-click drag-and-drop).
Annotate as unknown history (
 “U”): Useful for cells appearing from outside of the field of view.
Automatically assign bud to mother (
 ): Automatically assign buds to mothers using YeastMate.
Manually edit cell cycle annotations table (
 “Ctrl+Shift+P”): Manually edit cell cycle annotations table.
Re-initialize cell cycle annotations table (
 ): Re-initialize cell cycle annotations table from this frame onward. NOTE: This will erase all the already annotated future frames information (from the current session not the saved information).


Edit tools: Normal division: Lineage tree
Find mother for a new Cell ID (
 “F”): Find mother for a new Cell ID. Right-click on the new cell to find its mother. Repeated right click to cycle through candidates. Shift right click to cycle back.
Set unknown mother (
“U”): Set unknown mother for a cell. Right-click on the cell to set its mother as unknown.No tool selected (
 “N”): No tool selected. Use this to deselect the current tool.
Propagate changes (
 “P”): Propagate changes in lineage tree. Use this to propagate changes in the lineage tree, especially after you moved to another frame without propagating first!
View lineage tree info for current frame (
 “I”): View lineage tree info for current frame.


